My Terms Of Use

These tutorials are copyrighted to Kaye @ Kaye’z Designz. You may print them out for personal use but do not post to any site or distribute as your own. Any resemblance to others online is purely coincidental.

Sunday, April 25, 2010

Alien Band

2010 04 25a Alien Band 01b

This tutorial is copyrighted to Kaye @ Kaye'z Designz. You may print out for personal use but do not post to any site or distribute as your own. Any resemblance to others online is purely coincidental.
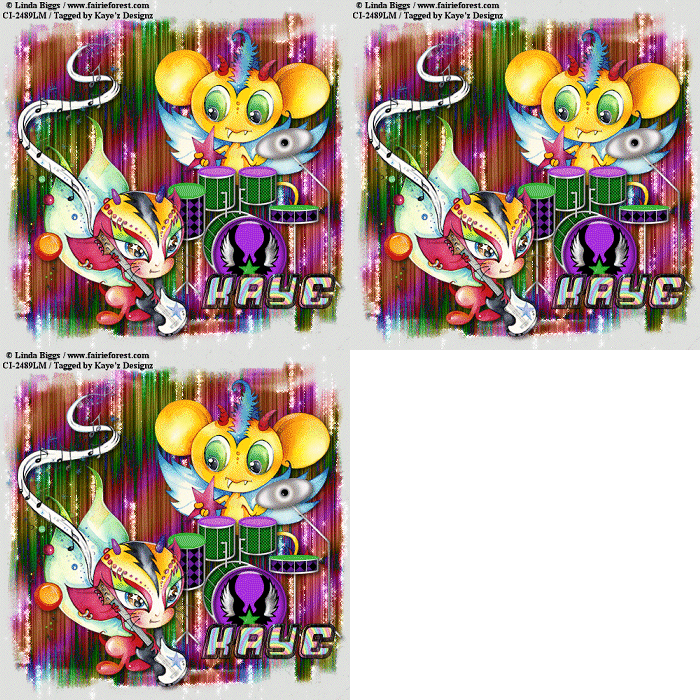
Supplies Needed: Paint Shop Pro any version, I used X3. You can get it from COREL. Tube of choice. I used one by Linda Biggs, it can be purchased at CILM. You may use your own color, gradient or pattern. Font of choice or use mine AlienMushroom. Mask of choice or use mine WSLmask003. Notes: Open tube and mask in PSP. Open font and minimize to task bar. SAVE OFTEN.

STEP 1  Open new canvas 500 X 500, Resolution 72.0. Flood Fill with color, gradient or pattern of choice. I used #E0E0E0. Name this layer BG.

STEP 2  Add a New Layer. Flood Fill with another color, gradient or pattern of choice. I used Charade Seamless Tile. Apply mask of choice. I used WSLmask003. Merge / Merge Group. Drop Shadow of choice. Name this layer mask/pattern.

STEP 3  Add New Layer & Flood Fill with Gradient: Rainbow Pastel, Sunburst, Repeats 10, Invert unchecked, Center Point 50, 50, Focal Point 50, 100. Apply same mask and Merge Group. Change Blend Mode to Saturation (L) or Overlay. Name this layer mask.

STEP 4  Copy and Paste tube of choice. Drop Shadow of choice, mine was 3, 3, 65, 8, Black. Name this layer tube.

STEP 5  Grab your Text Tool with font and size of choice. I used AlienMushroom, Vector, Size 60, Bold, Stroke 1 black, for fill I used same gradient from step 3. Type your text. Add Inner Bevel of choice. Add Drop Shadow of choice. Name this layer text.

STEP 6  Add any elements of choice.

STEP 7  Resize canvas if necessary for your group requirements. Add copyright and make sure it is readable.

STEP 8  Save as .pspimage to retain layers for future changes. If you don’t wish to animate Save As .jpg using Jpeg Optimizer to send thru your group.

TO ANIMATE

STEP 1  Activate the mask/pattern layer and Duplicate 2 times for a total of 3 layers.

STEP 2  Activate bottom mask/pattern layer and go to Alien Skin / Xenofex 2 / Constellation: 2, 50, 50, 0, 100, 75, 45, Keep Original Image, Random Seed 3893. Move up to copy of mask/pattern layer and repeat Constellation and hit Random Seed once. Do the same to copy (2) of mask/pattern layer, repeat Constellation and hit Random Seed once.

STEP 3  Hide copy and copy (2) of mask/pattern layer. Copy Merged, go to Animation Shop and Paste as New Animation.

STEP 4  Hide original mask/pattern layer, unhide copy of mask/pattern layer. Copy Merged, go back to Animation Shop and Paste after Current Frame. Do the same with copy (2) of mask/pattern layer.

STEP 5  View Animation and if happy with speed Save As .gif file with these settings: Slider all the way at top for Better Quality. Under Colors tab: 255 colors, Optimized Octree, Error Diffusion. Under Optimizations tab: Check Write minimal frames and Map Identical Pixels other boxes should be unchecked.

All done! I hope you have enjoyed my tutorial. Remember this is just a guide. Experiment using different colors, gradients or patterns, images and settings. Any questions you can reach me at kayewinters@zoomtown.com. This tutorial was written 4/25/10 by Kaye'z Designz.

Wednesday, April 14, 2010

Using Xero Fritillary

2010 04 14a - Using Xero Fritillary 01b

This tutorial is copyrighted to Kaye @ Kaye'z Designz. You may print out for personal use but do not post to any site or distribute as your own. Any resemblance to others online is purely coincidental.
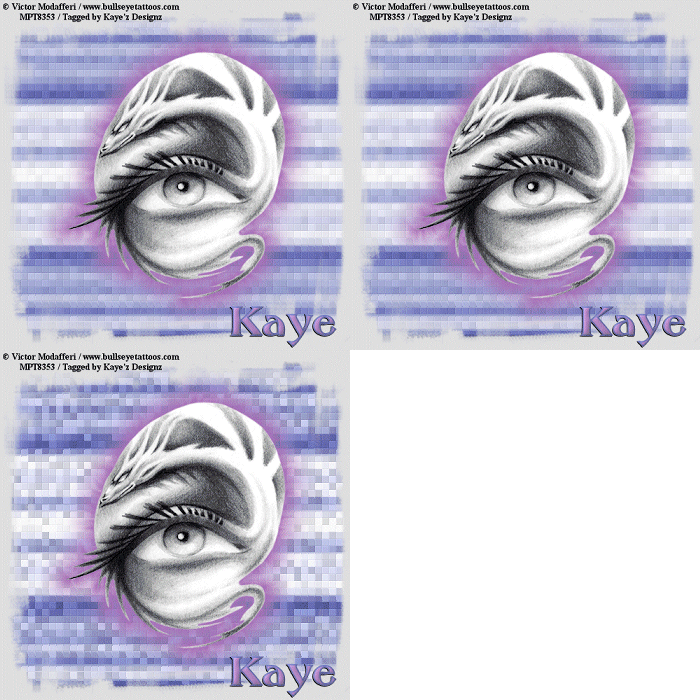
Supplies Needed: Paint Shop Pro any version, I used X3. You can get it from COREL. Tube of choice. I used one by Victor Modafferi, it can be purchased at MPT. You may use your own color, gradient or pattern. Font of choice. Mask of choice or use mine WSL_mask003. Notes: Open tube and mask in PSP. Open font and minimize to task bar. SAVE OFTEN.

STEP 1  Open new canvas 500 X 500, Resolution 72.0. Flood Fill with color, gradient or pattern of choice. I used #E0E0E0. Name this layer BG.

STEP 2  Add a New Layer. Flood Fill with another color, gradient or pattern of choice. I used Metallic Silver gradient set at Linear, Angle 0, Repeats 1, Invert checked.

STEP 3  Apply mask of choice. I used WSL_mask003 with Invert Mask Data unchecked. Merge / Merge Group. Colorize if you wish. Name this layer mask.

STEP 4  Copy and Paste tube of choice. Resize 80% or as needed. Name this layer tube.

STEP 5  Add any other elements you like.

STEP 6  Add your name and / or watermark. Add any copyrights required. If you need to Resize tag for group limitations do it before adding copyright info. Name layers name / CR respectively.

STEP 7  Active mask layer. In layer palette click on the Layer Link Toggle (where it says None). You should now have a 1 where None was. Duplicate layer twice for a total of 3.

STEP 8  On bottom mask layer go to Effects / Xero / Fritillary: 10, 30, 10, 10. Move up to copy of mask layer and change Variation to 20. Move up to copy (2) of mask layer and change Variation to 30.

STEP 9  If you want to get creative and have Eye Candy 4000 Duplicate tube layer twice for total of 3 layers. On bottom tube layer go to Effects / EC 4000 / Corona use the Magnetic Flux preset but change Glow Width to 50. Move up to copy of tube layer and in EC click Random Seed once. Do the same on copy (2) of tube layer.

STEP 10  Save as .pspimage to retain layers for future changes. Save as .jpg using Jpeg Optimizer to send thru group if you don’t animate.

TO ANIMATE
STEP 1  Close off top 2 tube layers and top 2 mask layers.

STEP 2  Copy Merged and in Animation Shop Paste as New Animation.

STEP 3  In PSP close bottom tube and mask layers. Open copy of tube and mask layers. Copy Merged and in AS Paste after Current Frame.

STEP 4  In PSP close copy of tube and mask layers. Open copy (2) of tube and mask layers. Copy Merged and in AS Paste after Current Frame.

STEP 5  View Animation. When happy with speed Save As .gif file with these settings: Slider all the way at top for Better Quality. Under Colors tab: 255 colors, Optimized Octree, Error Diffusion. Under Optimizations tab: Check Write minimal frames and Map Identical Pixels other boxes should be unchecked.

All done! I hope you have enjoyed my tutorial. Remember this is just a guide. Experiment using different colors, gradients or patterns, images and settings. Any questions you can reach me at kayewinters@zoomtown.com. This tutorial was written 4/14/10 by Kaye'z Designz.

Friday, April 2, 2010

Easter 2010

2010 03 23a Easter 2010 01b

This tutorial is copyrighted to Kaye @ Kaye'z Designz. You may print out for personal use but do not post to any site or distribute as your own. Any resemblance to others online is purely coincidental.
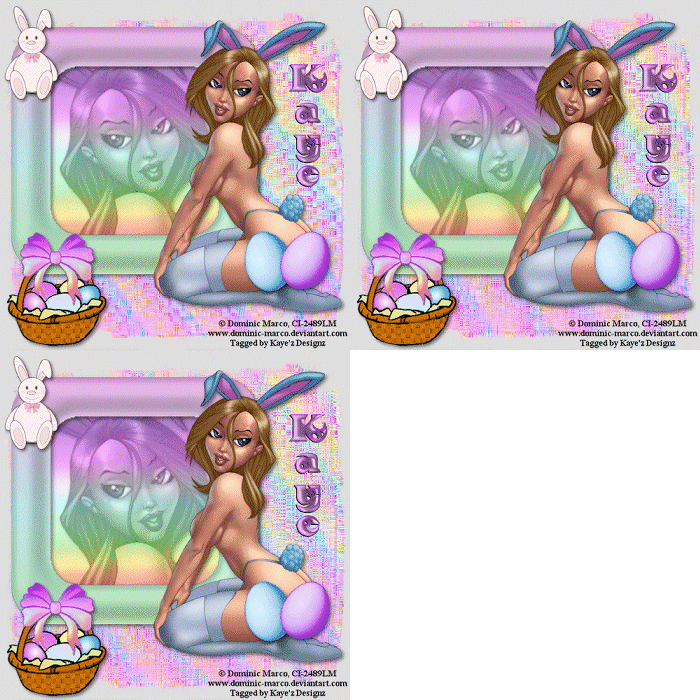
Supplies Needed: Paint Shop Pro any version, I used X3. You can get it from COREL. Tube of choice. I used one by Dominic Marco, it can be purchased at CILM. You may use your own color, gradient or pattern. Font of choice or use mine Easter. Mask of choice or use mine WSLmask003. You will need to download WSL_Masks001-060 to get it. Scrap Kit of choice or use mine Easter by Angel Lottie. I think this came from Lottie’s Place which is now closed. Plugin Psychosis. Notes: Open tube and mask in PSP. Open font and minimize to task bar. SAVE OFTEN.

STEP 1 Open new canvas 500 X 500. Flood Fill with color, gradient or pattern of choice. I used #E0E0E0. Name this layer BG.

STEP 2 Add a New Layer. Flood Fill with another color, gradient or pattern of choice. I used paper4 from kit. Apply mask of choice. I used WSLmask003 with Invert Mask Data unchecked. Merge / Merge Group. Name this layer mask.

STEP 3 Copy and Paste frame of choice from kit, I used frame2. Drop Shadow of choice, mine was 3, 3, 65, 8, Black. Name this layer frame.

STEP 4 With Magic Wand select inside the frame. Add a New Layer below the frame. Paste a different paper into Selection, I used paper3. Deselect. Name layer frame fill.

STEP 5 Paste tube of choice below frame. If your tube has a close-up use it for this step. If not increase tube size so face fills the frame. With Magic Wand click inside frame. Expand selection by several pixels. Invert selection and activate tube layer. Hit Delete on keyboard. Set Blend Mode to Luminance (L) and Opacity to 50. Name this layer frame tube.

STEP 6 Click on top layer in layer palette. Paste tube again and Image / Mirror. Resize if needed. Add Drop Shadow of choice. Move into place. Name layer main tube.

STEP 7 Add any other elements of choice. I added bunny, basket and eggs. Add Drop Shadows to each layer and name each layer accordingly.

STEP 8 Grab your Text Tool with font and size of choice. I used Easter, Vector, Size 50, Bold, Stroke null, for fill I used #B03CEA. Type your text / name. Add Inner Bevel of choice. Add Drop Shadow of choice. Name this layer text.

STEP 9 Resize your canvas for group requirements if necessary. Add any copyrights required. Add watermark. Save as .pspimage to retain layers for future changes. If you don’t animate Save as .jpg using Jpeg Optimizer to send through your group.

IF YOU CHOOSE TO ANIMATE FOLLOW BELOW STEPS

STEP 1 Activate the mask layer and Duplicate 2 times for a total of 3 layers.

STEP 2 Activate bottom mask layer and go to Plugins / Psychosis / Streaker: 10, 10. Move up to copy of mask layer and repeat Plugins / Psychosis / Streaker: 15, 15. Do the same to copy (2) of mask layer, repeat Plugins / Psychosis / Streaker: 20, 20.

STEP 3 Hide copy and copy (2) of mask layer. Copy Merged, go to Animation Shop and Paste as New Animation.

STEP 4 Hide original mask layer, unhide copy of mask layer. Copy Merged, go back to Animation Shop and Paste after Current Frame. Do the same with copy (2) of mask layer.

STEP 5 View Animation. I thought speed was a little fast so I changed Frame Properties to 15.

STEP 6 Save as .gif file with these settings: Slider all the way at top for Better Quality. Under Colors tab: 255 colors, Optimized Octree, Error Diffusion. Under Optimizations tab: Check Write minimal frames and Map Identical Pixels other boxes should be unchecked.

All done! I hope you have enjoyed my tutorial. Remember this is just a guide. Experiment using different colors, gradients or patterns, images and settings. Any questions you can reach me at kayewinters@zoomtown.com. This tutorial was written 03/23/10 by Kaye'z Designz.