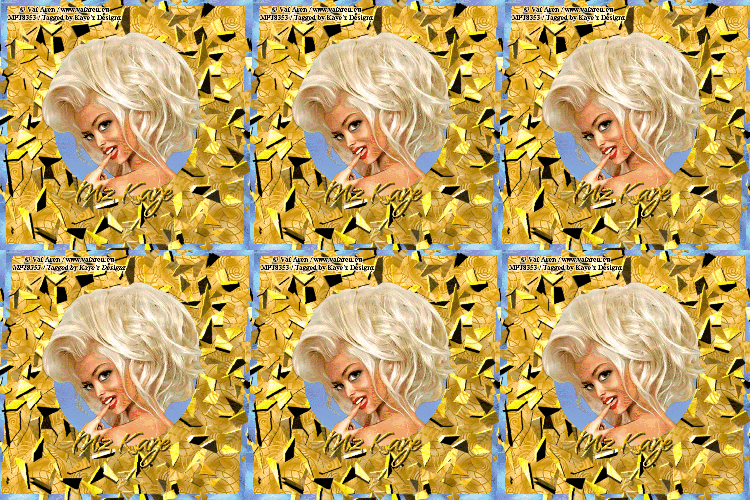
 This tutorial is copyrighted to Kaye @ Kaye'z Designz. You may print out for personal use but do not post to any site or distribute as your own. Any resemblance to others online is purely coincidental.
Supplies Needed: Paint Shop Pro any version, I used X2. You can get it from COREL. Tube of choice. I used one by Val Aren, it can be purchased at MPT. You may use your own color, gradient or pattern. I used 2 Patterns LOTR 02 and Fun22 Gold. Font of choice or use mine Qwigley. Filter Needed: Alien Skin Xenofex 2 / Shatter. Notes: Open tube in PSP. Open font and minimize to task bar. Save often.
Step 1 Open new canvas 500 X 500. Flood Fill with color, gradient or pattern of choice. I used LOTR 02 Angle 0, Scale 100. Name this layer BG.
Step 2 Add a New Layer. Flood Fill with another color, gradient or pattern of choice. I used Fun22 Gold, Angle 0, Scale 50. Resize layer by 95%. Name this layer Shatter.
Step 3 On Shatter layer take your Selection Tool / Circle and click at 250, 250. Draw circle out to 100, 400. Don’t Deselect.
Step 4 Go to Alien Skin Xenofex 2 / Shatter: 26.08, 30, 56, 100, 27, 23.04, Make Selection Transparent, Random Seed 1. Deselect.
Step 5 Find tube you want to use. Copy and Paste on your canvas. Rename tube.
Step 6 With Magic Wand click inside Shatter layer circle. Selections / Invert. Activate tube layer and either hit Delete or use Eraser Tool to erase parts of tube you don’t want overlapping circle. I just erased some at the bottom.
Step 7 Add your text and/or name with font of choice. I used Qwigley, 80, Bold, Stroke 1.5 Fun22 Gold, Fill same as stroke. Place where you like.
Step 8 Add Inner Bevel: Bevel #2, 9, 0, 2, 0, 0, White, 315, 50, 30.
Step 9 Add Drop Shadow: 2, 2, 80, 2, Black.
Step 10 Add copyright making sure it is readable. Add your watermark.
Step 11 At this point you can stop and go to JPEP Optimizer and save to send thru your group. Make sure you save your .pspimage in case you want to change anything.
IF YOU WANT TO ANIMATED CONTINUE
Step 1 Open Animation Shop. Back in PSP Copy Merged. Go to AS and Paste as New Animation.
Step 2 Go to Effects / Insert Image Effect / Shear: Start with Animation Frame, Effects Length 2.5, Frames per Second 3 fps, Contains total of 7 frames. Customize: Shear Distance 15, Horizontal, Wrapped checked.
Step 3 Select Frame 1 and Delete. Select new frame 1 and Select All Frames, Copy. Select Frame 7 only and Paste after Current Frame. While still selected go to Animation / Reverse Frames.
Step 4 This animation creates a very large file at 500 X 500. To reduce file size I Selected All frames went to Animation / Cull Animation and put 2 in the box. I also Resized frames to 250 X 250.
Step 5 View Animation and if satisfied, Save As .gif file with these settings: Slider all the way at top for Better Quality. Under Colors tab: 255 colors, Optimized Octree, Error Diffusion. Under Optimizations tab: Check Write minimal frames and Map Identical Pixels other boxes should be unchecked.
All done! I hope you have enjoyed my tutorial. Remember this is just a guide. Experiment using different colors, gradients or patterns, images and settings. Any questions you can reach me at kayewinters@zoomtown.com. This tutorial was written 10/24/09 by Kaye'z Designz.


No comments:
Post a Comment